jimmysteachingwebsite!

Learning to teach or teaching to learn?

Inquiry Post #8 – Putting it all together

So, here I am putting my collage all together. the first clips are of me placing my clippings in place, then it moves on to me gluing it up. There are a couple things I want to explain! First of all, I usually take a picture of the collage once I have dry fitted its pieces, then I glue it all together using that photo as a reference as I often overlap or overlay clippings. the order they are placed in is important! Secondly, I have found that gluing using a paint brush is the best way to evenly distribute the glue! Also, in spaces where there is exposed backboard, I sometimes decide to paint or draw in the blank spaces. this time, i mixed brown and green paint to make an earthy green to fill the spaces, and finished some areas with black sharpie. I personally prefer a fully covered look, but others use great negative space!

This is my dry-fitted reference picture

Here is the glued collage! I am very happy with it!!

Inquiry Post #10 – Reflecting of the Process

Its all over! As I have said before there are a few things I will do differently going forward and some things I was super amped on.

  • I loved using the burning technique, I think it gave the wood a great finish, a and the linseed oil made some beautiful patterns in the grain.
  • Woodwoking is hard, especially when there is a skill barrier!
  • I need more precise tools if I am to get perfect joints. Corner clamps especially.
  • It is ahrd to work with inconsistent surfaces. I did a lot of the wpork outside witout a workbench, which masde it hard to keep everything consistent.
  • I would love a table saw!!!
  • I wonder what opportunities there are for digital collaging! Checking online, it seems like there are numerous resources like Adobe and Pixlr!

Some things I want to do in the future!

  • Buy a table saw! Here is a cheap example…
  • Practice Practice Practice!
  • Secure a better space to work!

Overall, I found this project and course super fun. I have always liked woodworking and persisting with projects. i found myself frustrated on numerous occasions, but was proud that I persisted. I also found that filming and recording the process was honestly quite annoying. I often wanted to focus on doing the project, but then had to be mindful about setting up a camera or taking photos. I have never been prone to recording my life! That being said, it was all super fun!! Thanks for coming along for the journey!

Inquiry Post #9 – the finished product and next steps

So, here it is!!! Overall, I am satisfied with it! There are a few things I would have liked to change, and I’ll get into that in my next post. I love the way the pictures mesh together, I think there is good continuity and a consistent cowboy/western theme. It still needs a backing board and I am in the process of getting class custom fit! Its a process for sure, but I enjoyed it all!

Inquiry Post #7 Collage City Population Me

Step 1 – Separate and sort my piles

  • Think back to previous posts, this video shows me sorting through the clippings taken back then, and this is where I begin to make my vision for what I want the final collage to look like!
  • Here, I am looking for backgrounds to frame my main peices.
  • I tend to focus mostly on words and people.

Inquiry Post #6 Fastener Fury

I am learning lots, like that corner clamps wpuld have been a great investment. My latest struggle is with creating flush edges for my picture frame. With the fasteners I bought at first, they were not giving me enough tension on the joints, and it was a struggle to maintain flush edges and get the glue to stick.

I opted for 90 degree brackets to get more tension on the joint itself, but it still was not perfect. For future frames, I will be investing in corner clamps because that edge connection is so important.

I found myself getting pretty frustrated at this stage of the process. My joints were not well connected and I felt hindered by my lack of equipment and workshop. I had to use tape to get the best wood to glue connection I could and maintain flush joints. It was ugly.

Inquiry Post #5: Burner, I hardly even know her!

It’s time for Sho Sugi Ban! Here is my first attempt at the Japanese technique. I would be lying if I said it all went swimmingly. I didn’t burn anything unintended (except a few arm hairs) but I did realize a mistake I had made in the process. The video shows my first attempt, and after I noticed some of my edges had become blunt due to the burning, and that i should have performed the burning before cutting down my material. So, I started again! Down below is my first stab at the technique, but not the final product!

Enjoy!

#8 – Finnerty in the rain

My main thought from this class was about how technology can be used reciprocally in outdoor environments. I think the QR code activity was a great way to show this. The QR codes were low/no impact to the environment as they were removable and posed no threat to the plants/trees they were attached to. In doing so, we were able to learn about the plants around us and some ways we can use technology in the classroom. The exploration of the species in Finnerty gardens was a natural byproduct of our curiosity once outside in an environment rich with plants both familiar and unfamiliar. I was struck by the conversations we had as peers too, with discussions of previous travels, family traditions, and personal preferences being unearthed by simply being in the environment. I also found it funny, while using the plant identification feature through my phone’s camera, that they mistook a wisteria bulb for a bug.  

Below is a QR code I have created, linking to a guest house that I used to work at that had beautiful Wisteria plants, as well as other gorgeous garden garnishes.

#7 – BC EdAcess

I had a couple of thoughts during our talk on technology and inclusion. From my prior knowledge, I thought of how tech could be used as ways to help diverse learners access educational opportunities. My perspective was limited to assistive technologies like text to speech, speech to text and other softwares to give students equitable access to education.

The metaphor of the invisible backpack stuck with me too. Everyone comes into the classroom with a number of identities we cannot see, but are vital to understanding the student and their needs. This solidified to me the importance of getting to know your students, and makes me think that even though a certain student may not have a designation or any outwardly presenting learning barrier, there may be any. humber of intersectional factors that make participation in class without supports impossible. Assistive technology absolutely should not be confined to those who have designations or visible learning difficulties.

In my classroom going forward, I will really focus on integrating universal supports for learning. Thank you Kaori and Tracy!!

Here is a video of Google Read and Write in action, and some tips for how to use it. It seems to be a great universal assistive technology available!

#6 – Reflection: Calmness

I was glad that we brought up that when technology doesn’t work, it’s best not to catastrophize things. That behaviour is modelled onto the impressionable students we have, and is not necessarily conducive to solving the problem we have at hand.

Just like in school, parenting, driving… 

Origin of this image is from WW2, a poster to encourage British people to trust their army and raise national morale. It was posted before the war started and has been appropriated many times since in home decorations and t-shirt design, the message stays the same. Calmness as a teacher is infectious, as is stress. A philosophy I am hoping to take on in my practice is to always remain calm and solve problems with aa level head, and this will have to apply to technology because it is not always going to work out how we hope at the first time of asking.  

#5 – Reflection: What can (A)i do?

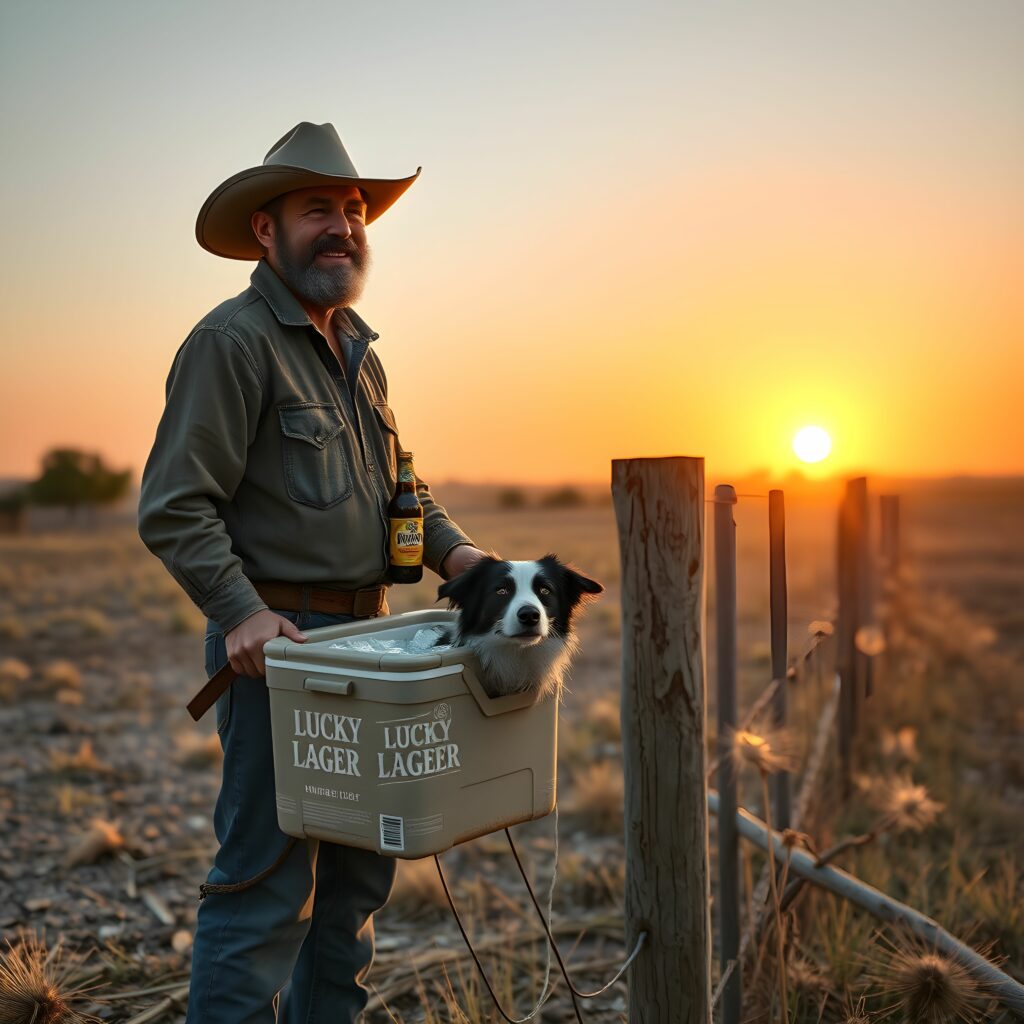
I created a concept of a man and his dog building a fence together on their farm.

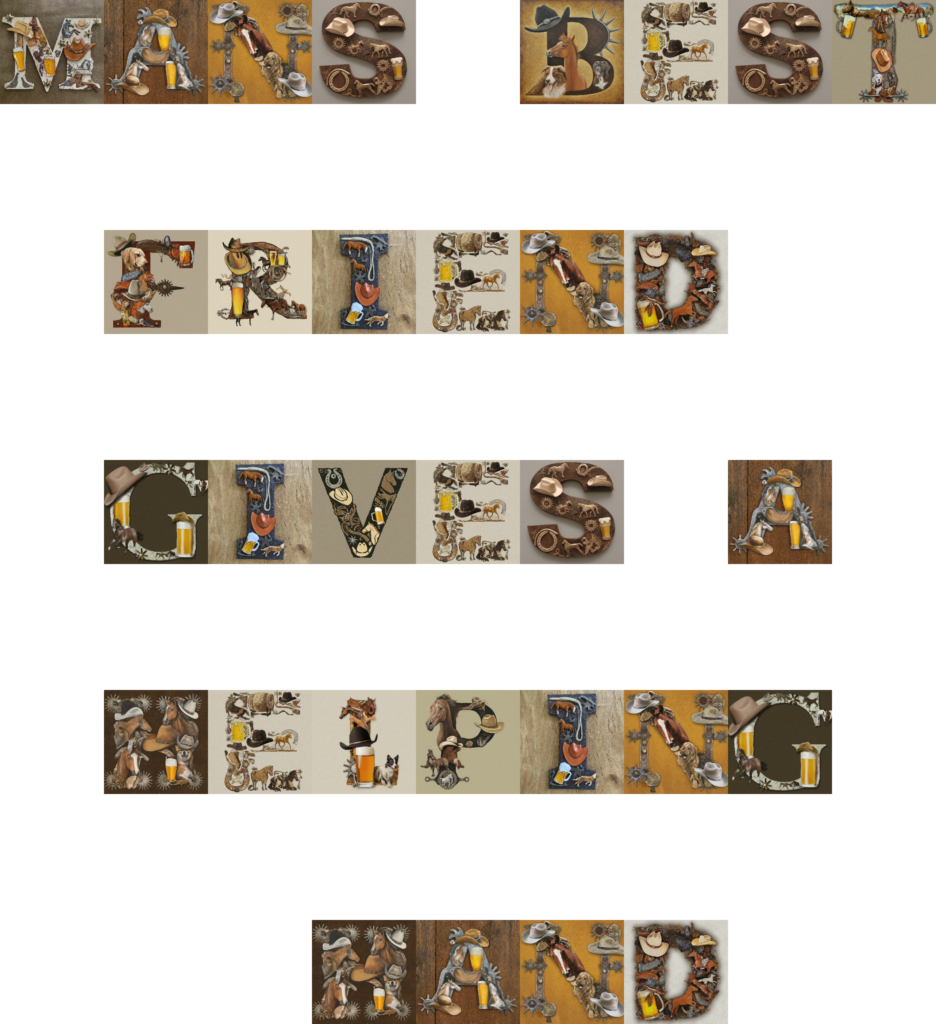
I used GenType to generate my title page.

I generated 2 Photos of the man and his dog using 123RF. Here, I had varying success.

Prompt: A photorealistic 3D render of a farmer working on building a fence. His clothes are well worn and he is dirty. He has a border collie with him, and a cooler full of lucky lagers and ice. He is happy with his progress. The sun is setting over the land, which is sparsely treed and has a few tumble weeds spinning around. 

Images:

Next, I created a video. I was very impressed with what KLing Ai was able to generate, although I would have liked it to be longer.

Prompt: A man is building a fence with his border collie. He is wearing nice but worn clothes and is clearly working very hard. The sun is setting nicely in the background and his tools are sprawled out on the floor. He has a hammer, a level, a post hole digger, and a bucket. He also has a cooler of beer next to him. He grabs a fence post. 

Video:

His hands go a little wonky, and it looks like he takes a tool from his cooler which is a bit iffy, but overall pretty cool!

Finally, I asked Riffusion to generate a song that would fit with my setup so far.

It seemed very much an amalgamation of other’s work as I did not give a hugely detailed prompt but was given a song of over 3 minutes. They also did not stick to the theme I had asked for. Overall, I feel as though this specific facet of AI may need the most critical thinking and tinkering with the prompt to get what we want.

« Older posts